meaggiedear
Rollerblading along the road
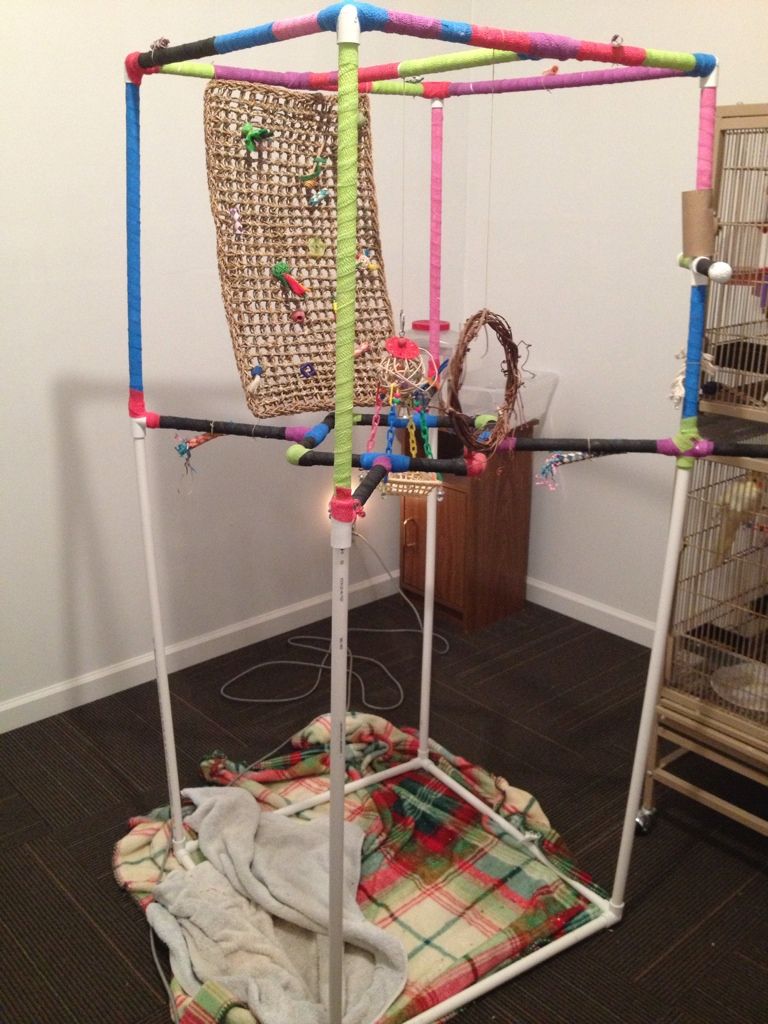
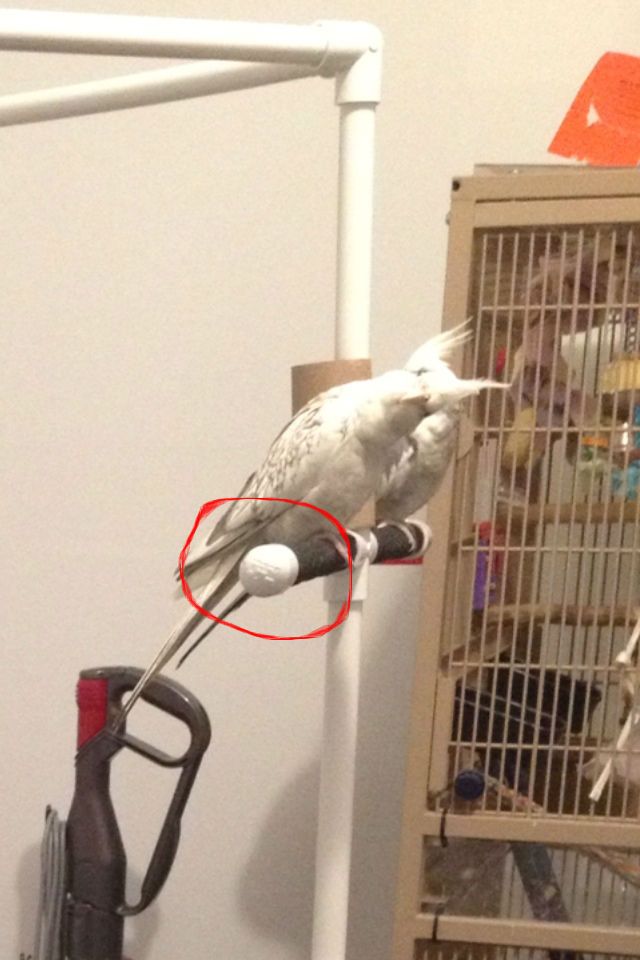
This is going to be a part post tutorial on how to do a large, but super simple playgym. Kevin deisgned this tominimize the amount of poop that would land on the gym. Making it funis going to be up to you decorating it with toys, etc.
I asked Kevin to make the playgym astall as me. It ended up a little taller, but that was the generalsize to work around. I am not going to include sizes in the tutorial,that way you can make it bigger or smaller to better fit your needs.
Supplies:
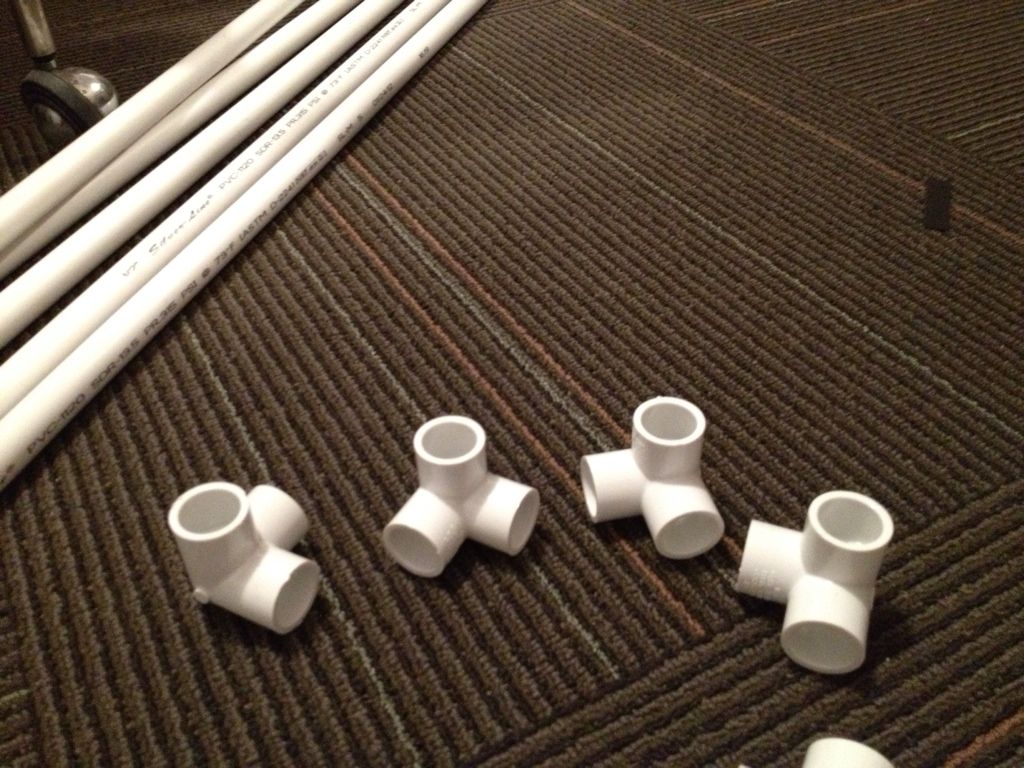
We used 1/2” PVC pipe from Lowes. Weended up using all five pieces... We had some left over from anotherproject too.
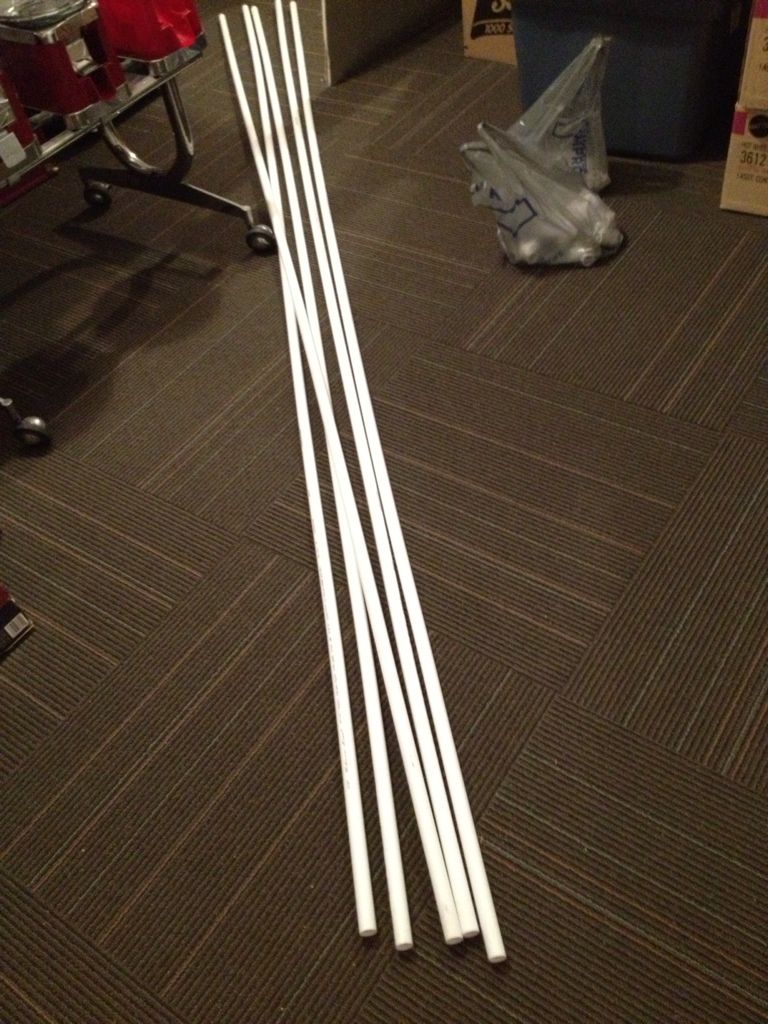
When picking out your joint pieces,make sure you get the slip kind and not the threaded kind. Check theinside of all the pieces to make sure they are smooth and notthreaded. These are 1/2”.
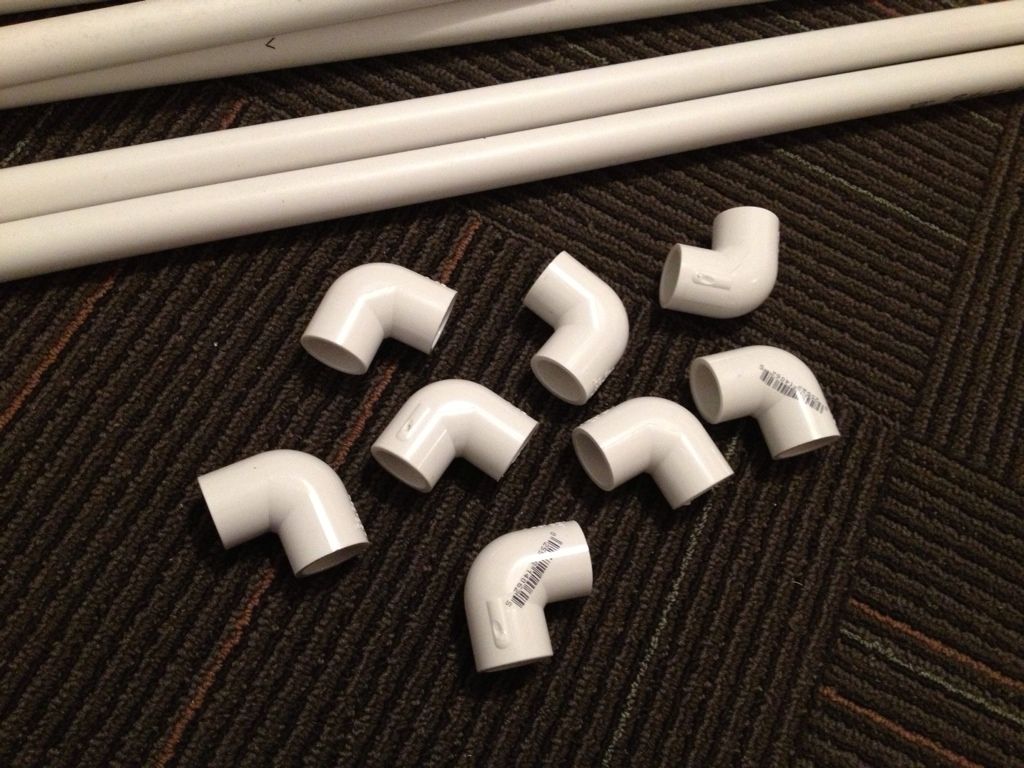
You will need 8 of these pieces.
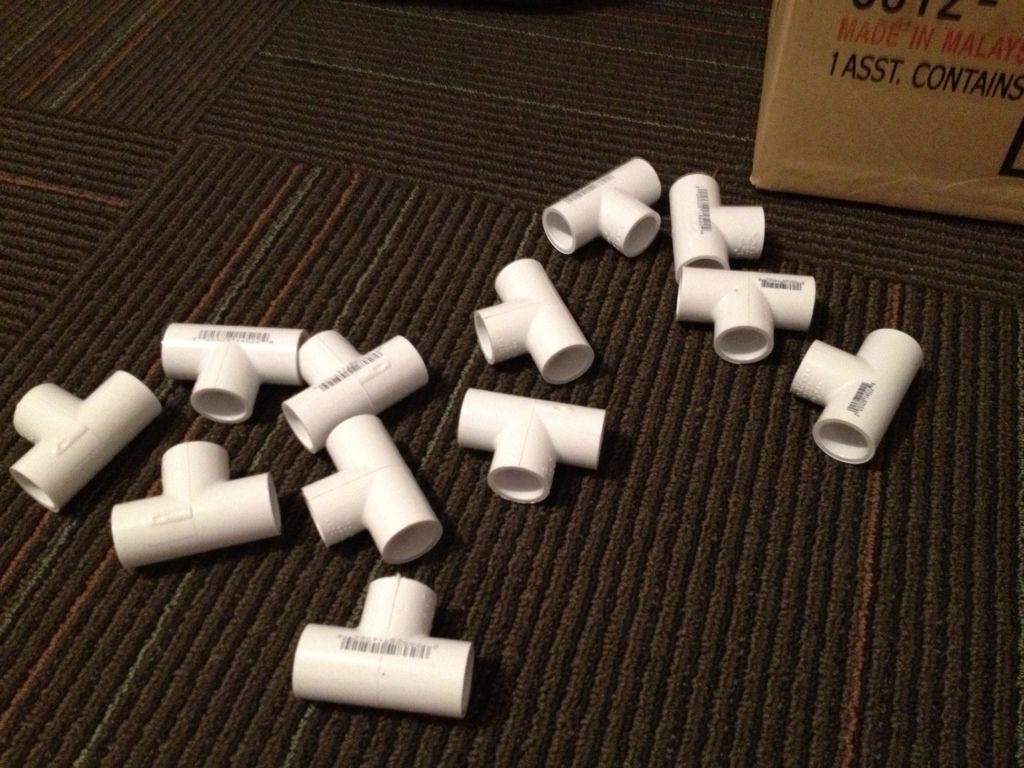
You will need 9 of these pieces.
You will need 4 of these pieces.
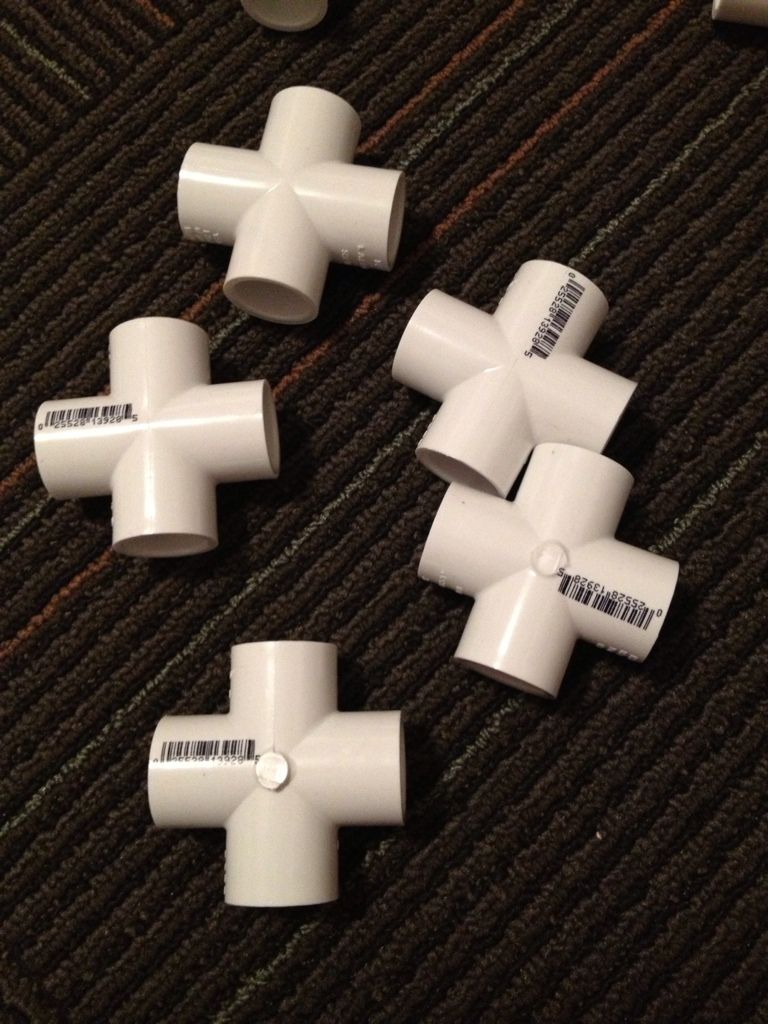
You will need 2 of these pieces.
You will need 3 of these pieces. Theseare end caps for the pieces that do not connect to anything.
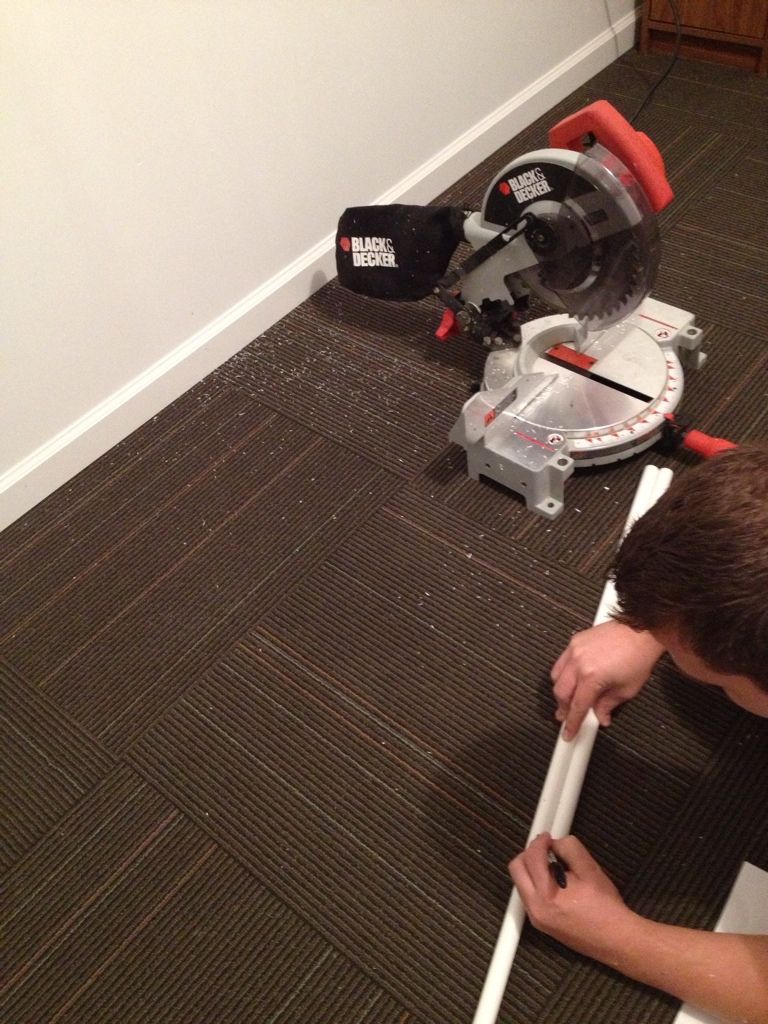
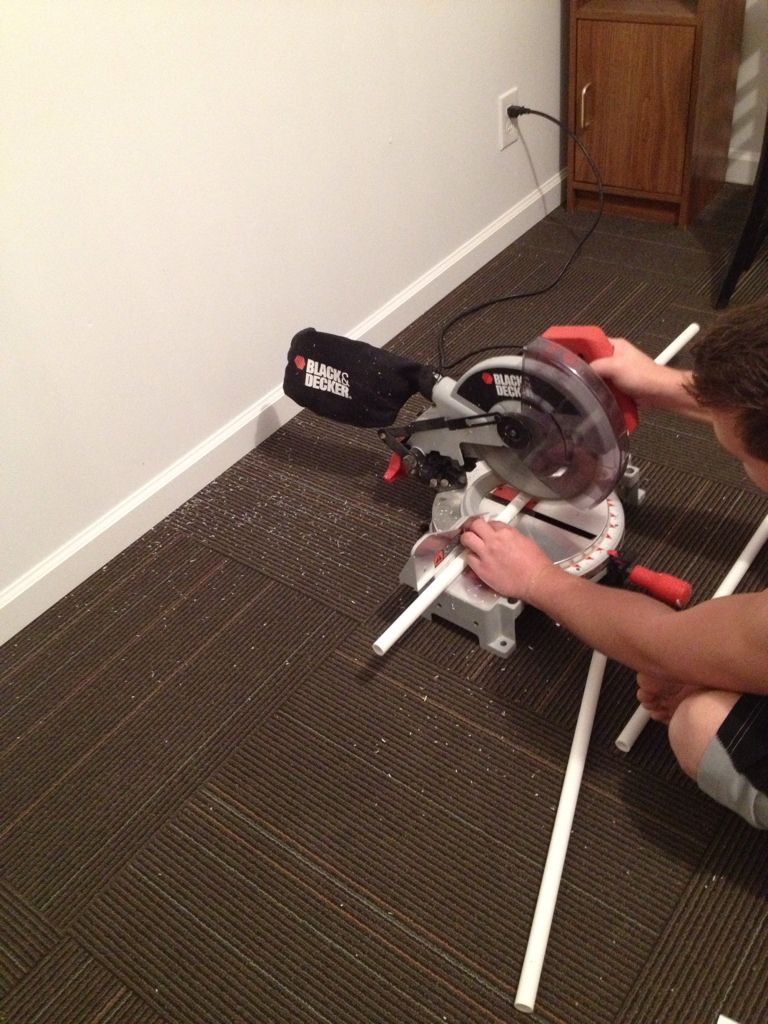
Kevin used a non toxic marker to markwhere he was going to cut after he measured. He has big boy tools todo the cutting, but you can use a handsaw for this just as well.
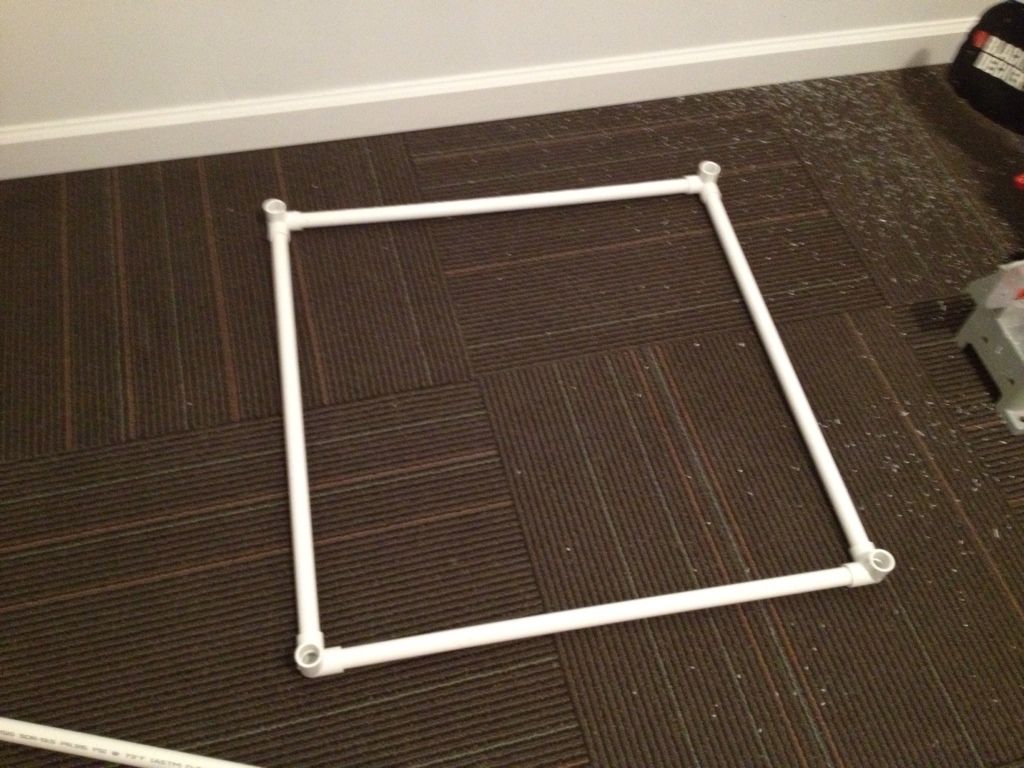
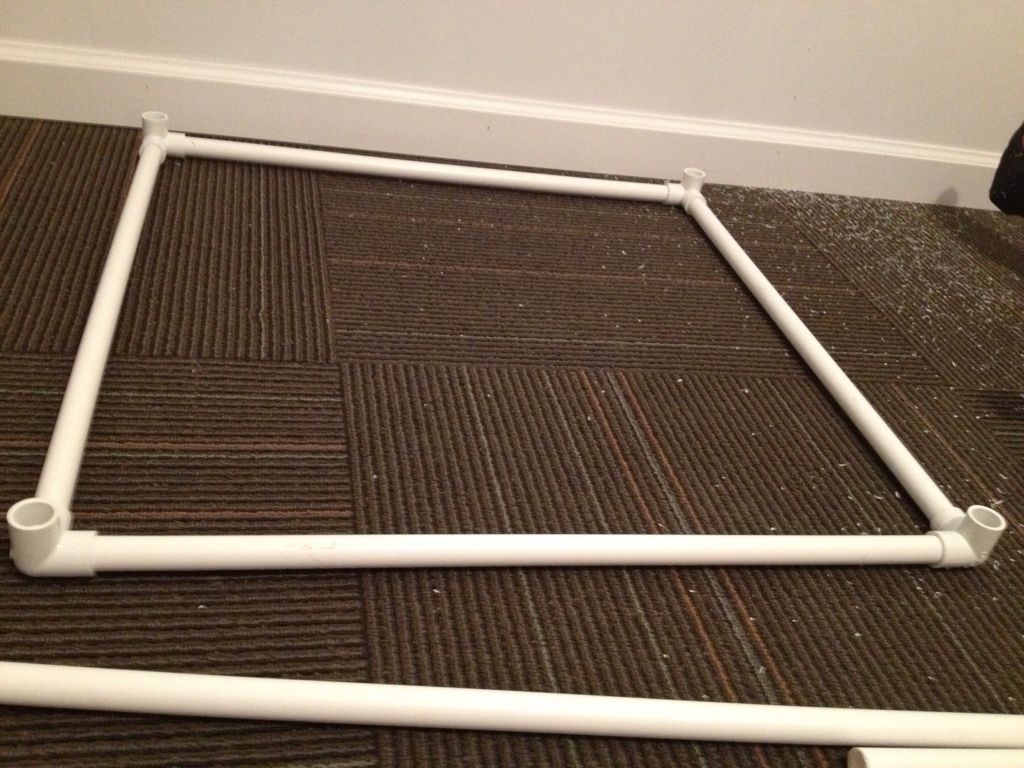
First, you are going to make the base.This involves cutting four equal sized pipes. This is going to make asquare and how big you cut the pieces is going to determine how wideyour playgym is going to be, so mark it out on the ground first withtape or string to make sure the width is going to work for you.Measure one side of your tape/string square and cut a pipe to thatsize. Do this until you have four equal size pieces.
You will use these connectors to put ittogether:
The end result should look like this:
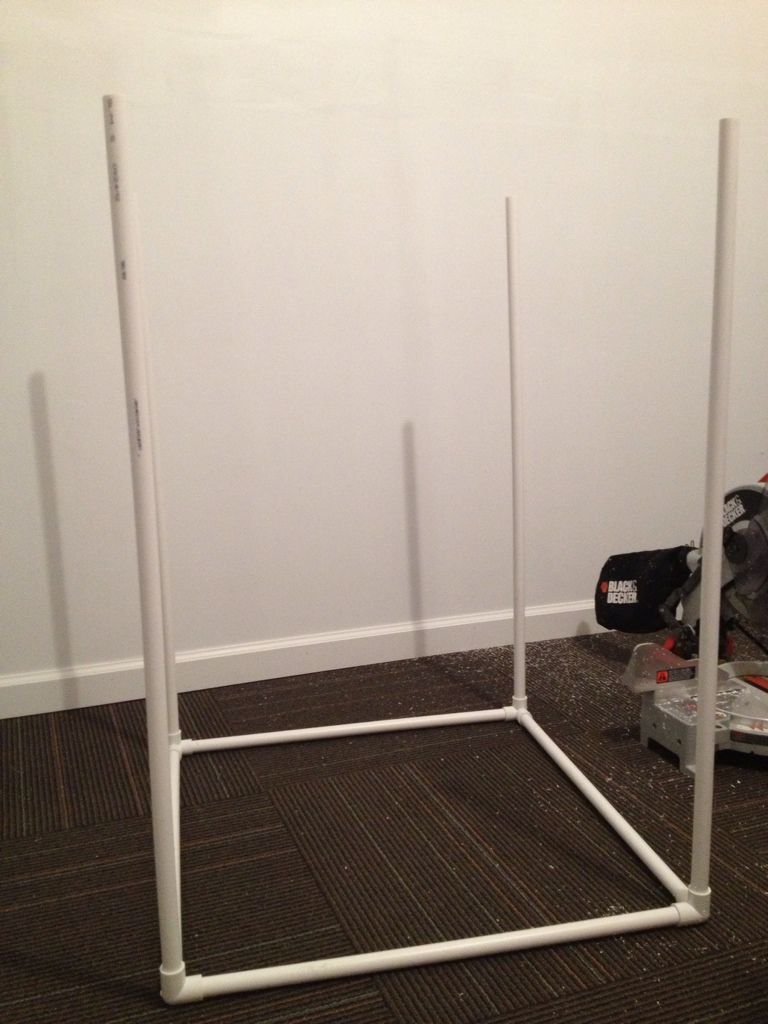
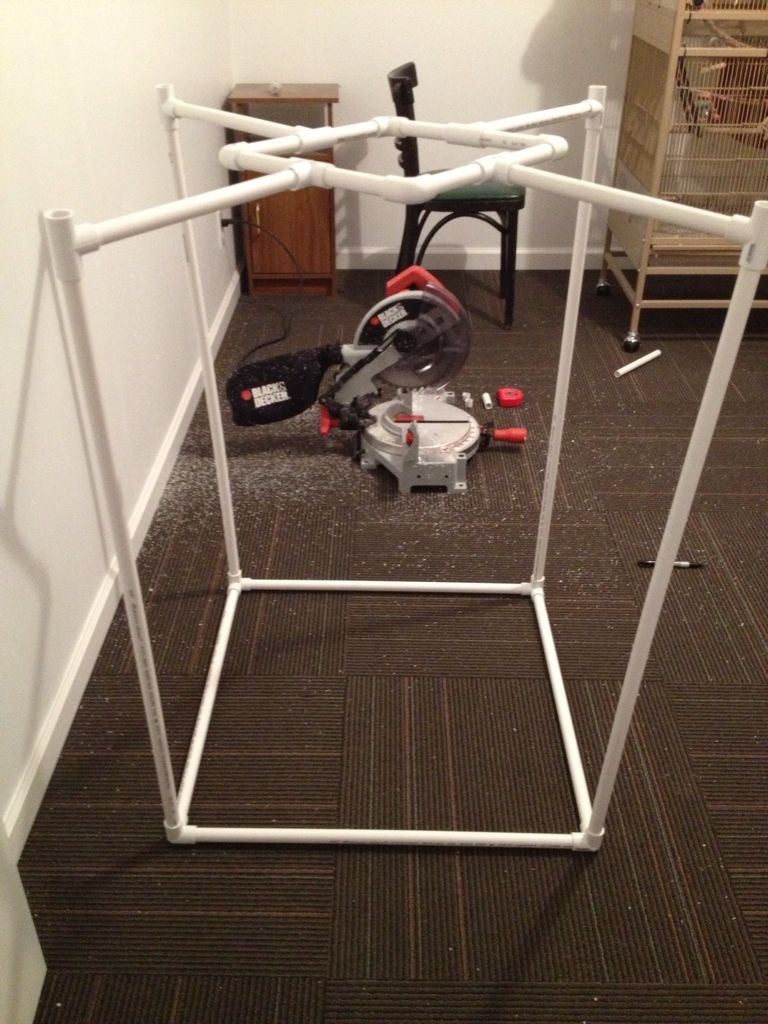
Next, you are going to cut four pipesto equal length. The size of these pipes needs to be the halfwaypoint of how tall your playgym is going to be. These pipes needed tocome up to my waist to make the halfway mark. You will fit each oneof the four pipes into your base. It will look like this:
Next you will need 3 of these:
And one of these:
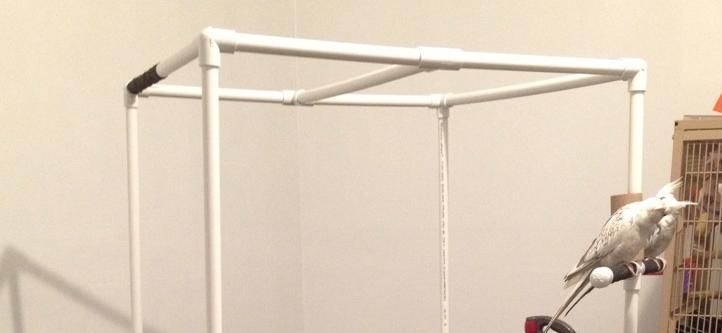
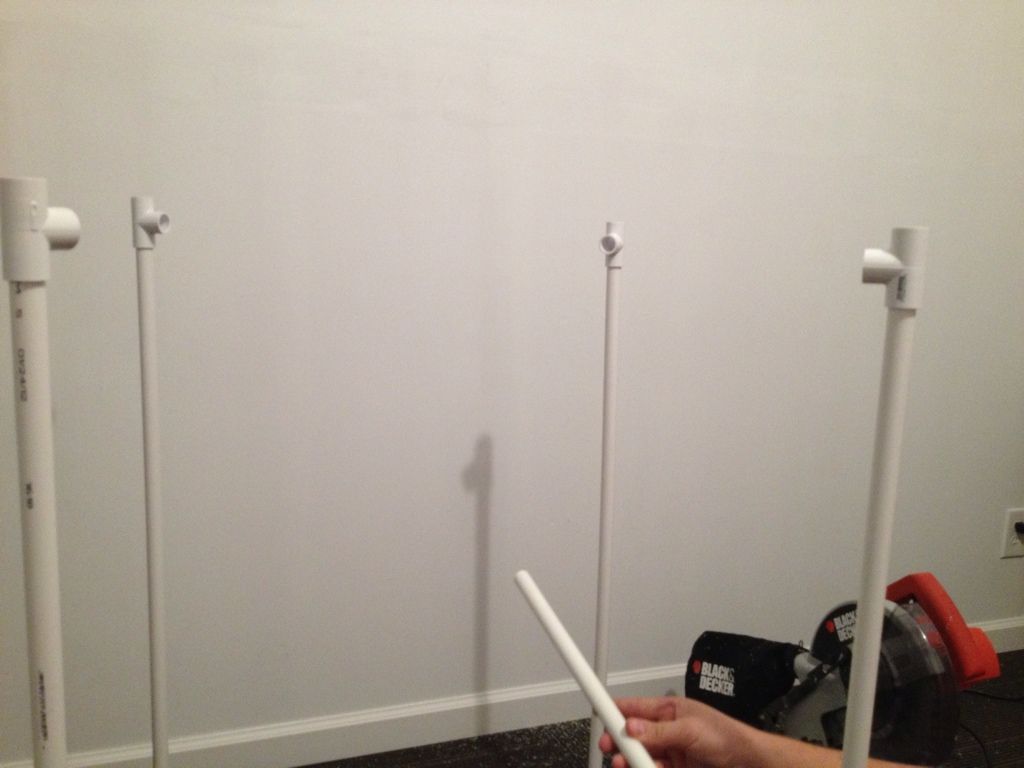
Fit the three three-way pieces on thetop of the pipes, and the four-way on the last pipe.
Here is a picture of what it shouldlook like:
(I realize that in this picture all ofthe pieces are 3-way. We changed it out later when we decided tobuild out, so stick to three 3-ways and one 4-way.)
Okay. This next part is going to be alittle tricky and will require some measurements and math. We aregoing to build a middle piece. You will be cutting 8 small pieces ofpipe and you will need the following connectors:
The middle piece is going to require 4of these:
And 4 of these:
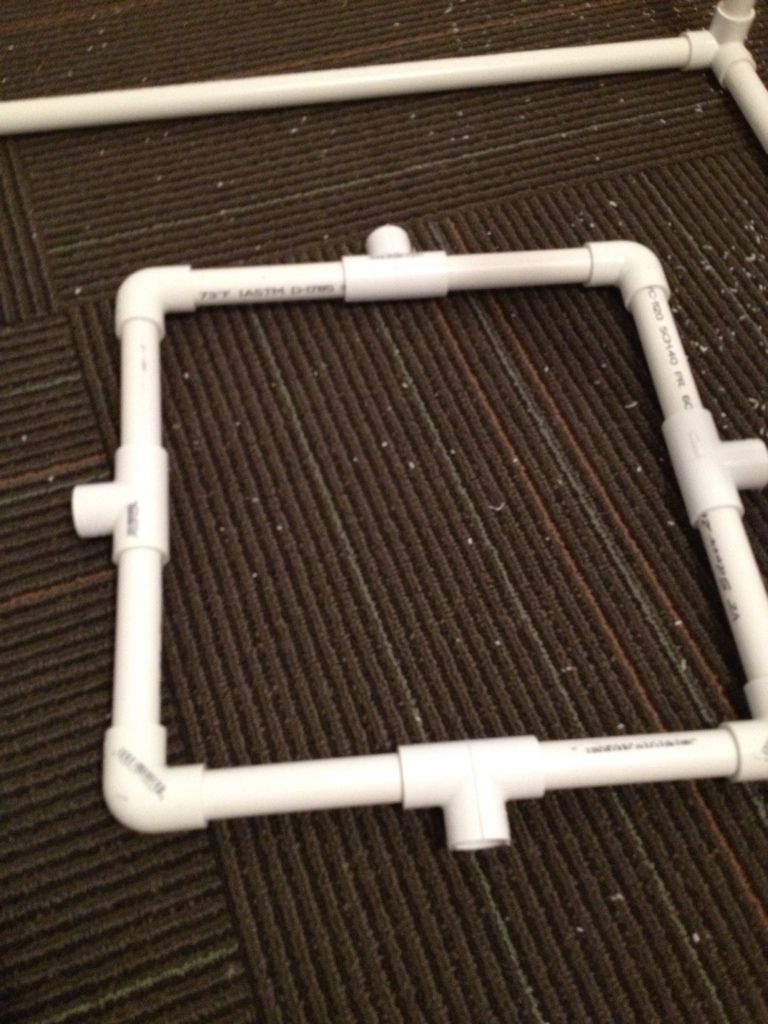
To make sure you build it to size, putyour pieces inside the base of the playgym and make sure it is smallenough. As long as your middle piece fits inside the base of the gymwhen you are done, you can cut the other pieces as small as you need.Fit everything together based on the picture below.
You want the middle piece to look likethis:
Here is the tricky part of this. Youare going to have to measure the length between the connectors on thetop of the base and the connectors on the middle piece and cut yourpipe to make it fit.
It should look like this when you getit all fitted together:
Next, cut three pieces of pipe to fitinto the base. These pipes should be as tall as you want the gym tobe. These will be the last pipes we will use to give it height, somake sure it is tall enough for you. (We will get to the funky fourthpiece next.)
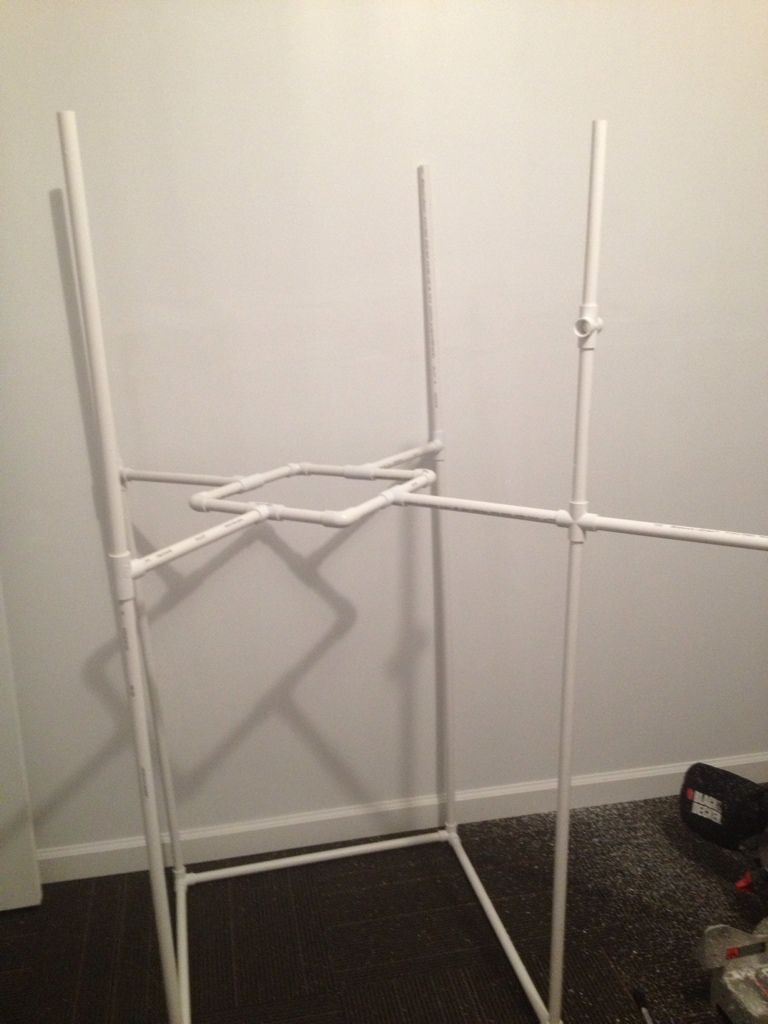
The fourth piece you will cut shorter.Basically, cut your piece like the other three, but you are going tocut it in half so that you can add a 4-way connector in the middle ofthe pipe. You will have to cut it a little smaller to make sure youare accounting for the extra inches of height that the connector isgiving it.
You can see the 4-way in the middle ofthe pipe. Also, the bottom 4-way piece has an opening, which youmight have noticed. Just cut a piece of pipe in any size of yourchoice to fit here.
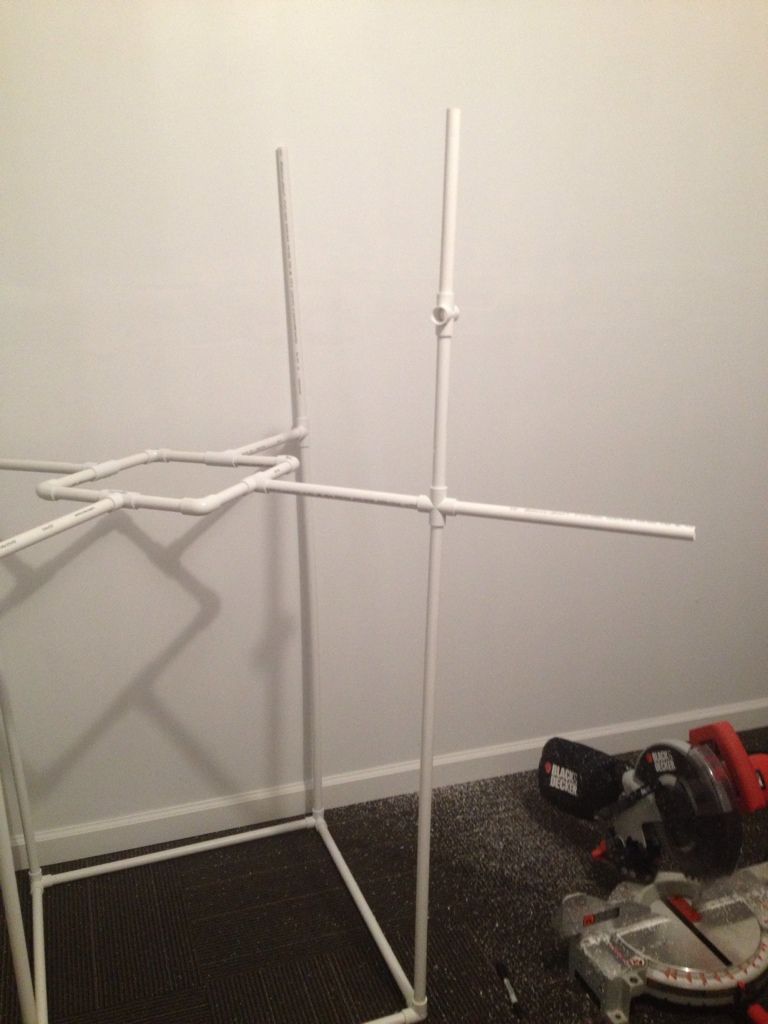
Now, you have the other 4-way connectorwith two opening on it. Cut two more pieces of pipe to your size ofchoice and fit them in.
It should look like this:
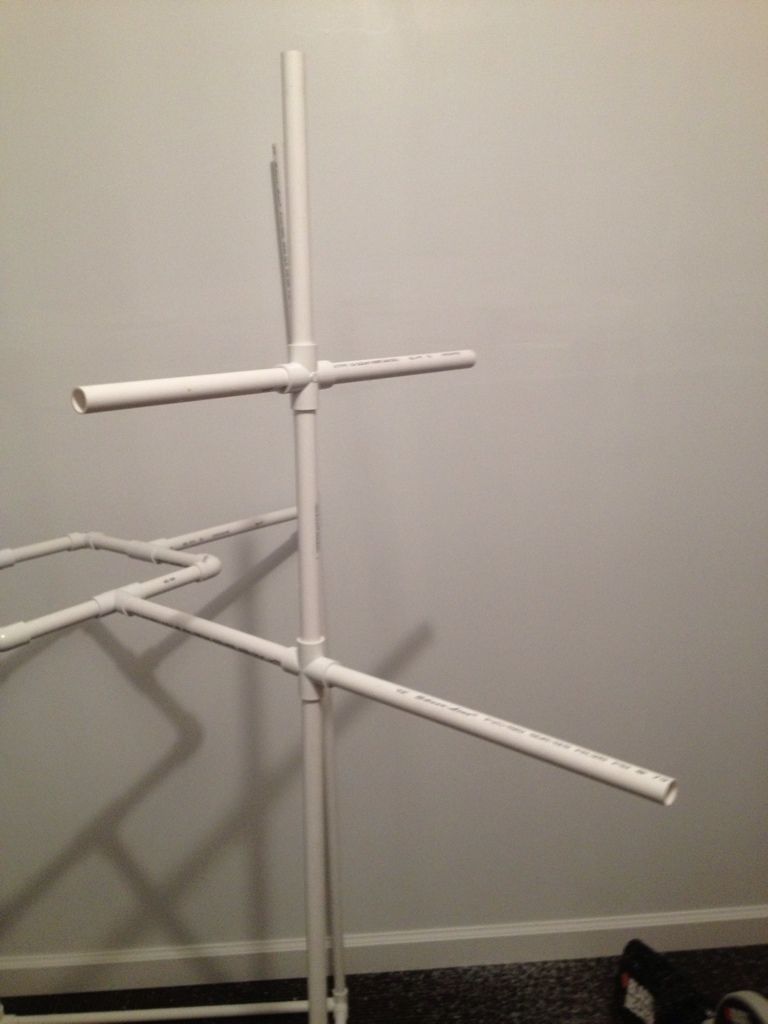
Use these caps to put on the end of allthree of these pieces that don't connect to anything:
(The rest of the tutorial is on the next post)
I asked Kevin to make the playgym astall as me. It ended up a little taller, but that was the generalsize to work around. I am not going to include sizes in the tutorial,that way you can make it bigger or smaller to better fit your needs.
Supplies:
We used 1/2” PVC pipe from Lowes. Weended up using all five pieces... We had some left over from anotherproject too.
When picking out your joint pieces,make sure you get the slip kind and not the threaded kind. Check theinside of all the pieces to make sure they are smooth and notthreaded. These are 1/2”.
You will need 8 of these pieces.
You will need 9 of these pieces.
You will need 4 of these pieces.
You will need 2 of these pieces.
You will need 3 of these pieces. Theseare end caps for the pieces that do not connect to anything.
Kevin used a non toxic marker to markwhere he was going to cut after he measured. He has big boy tools todo the cutting, but you can use a handsaw for this just as well.
First, you are going to make the base.This involves cutting four equal sized pipes. This is going to make asquare and how big you cut the pieces is going to determine how wideyour playgym is going to be, so mark it out on the ground first withtape or string to make sure the width is going to work for you.Measure one side of your tape/string square and cut a pipe to thatsize. Do this until you have four equal size pieces.
You will use these connectors to put ittogether:
The end result should look like this:
Next, you are going to cut four pipesto equal length. The size of these pipes needs to be the halfwaypoint of how tall your playgym is going to be. These pipes needed tocome up to my waist to make the halfway mark. You will fit each oneof the four pipes into your base. It will look like this:
Next you will need 3 of these:
And one of these:
Fit the three three-way pieces on thetop of the pipes, and the four-way on the last pipe.
Here is a picture of what it shouldlook like:
(I realize that in this picture all ofthe pieces are 3-way. We changed it out later when we decided tobuild out, so stick to three 3-ways and one 4-way.)
Okay. This next part is going to be alittle tricky and will require some measurements and math. We aregoing to build a middle piece. You will be cutting 8 small pieces ofpipe and you will need the following connectors:
The middle piece is going to require 4of these:
And 4 of these:
To make sure you build it to size, putyour pieces inside the base of the playgym and make sure it is smallenough. As long as your middle piece fits inside the base of the gymwhen you are done, you can cut the other pieces as small as you need.Fit everything together based on the picture below.
You want the middle piece to look likethis:
Here is the tricky part of this. Youare going to have to measure the length between the connectors on thetop of the base and the connectors on the middle piece and cut yourpipe to make it fit.
It should look like this when you getit all fitted together:
Next, cut three pieces of pipe to fitinto the base. These pipes should be as tall as you want the gym tobe. These will be the last pipes we will use to give it height, somake sure it is tall enough for you. (We will get to the funky fourthpiece next.)
The fourth piece you will cut shorter.Basically, cut your piece like the other three, but you are going tocut it in half so that you can add a 4-way connector in the middle ofthe pipe. You will have to cut it a little smaller to make sure youare accounting for the extra inches of height that the connector isgiving it.
You can see the 4-way in the middle ofthe pipe. Also, the bottom 4-way piece has an opening, which youmight have noticed. Just cut a piece of pipe in any size of yourchoice to fit here.
Now, you have the other 4-way connectorwith two opening on it. Cut two more pieces of pipe to your size ofchoice and fit them in.
It should look like this:
Use these caps to put on the end of allthree of these pieces that don't connect to anything:
(The rest of the tutorial is on the next post)
Last edited: